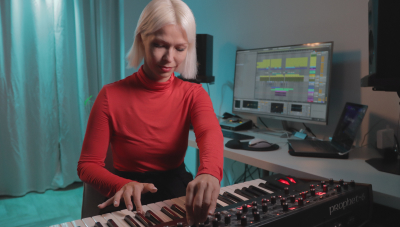
Ableton Live has a lot of features and some of them are hidden or known to only a very few people. Here are five features you might not know about which will speed up your workflow and power-up your music creation.
50 Top Industry Music Production Tips You Must know
The hidden rack hierarchy view
To navigate complex racks there is a hidden hierarchic view showing you an overview of the currently visible rack. Right click the little Rack Overview box in the bottom right corner and see a menu which will allow you to quickly jump to any instrument, or effect within the rack.
It’s very useful when dealing with complex racks, but almost nobody knows about it.

If you’re looking to keep learning more about the music industry, there are certain essential concepts you need to know before moving forward with the rest of the article. These concepts are used by Grammy-winning producers, industry professionals, and the best artists in the business. Whether you’re a musician, producer, engineer, or simply a music lover, these 50 tips will help you develop a solid base of knowledge and skills. From understanding the importance of rhythm and melody to improving the art of mixing and mastering or learning how to market yourself. So, if you’re serious about your music career, make sure to go through this list and start building a strong foundation for your future success.
Adding your own hint texts
It’s possible to add your own textual reminders to items in the Live interface, such as your presets or location markers. Right click an instrument rack and choose “add info text”menu to add an info text for this item. Now save it and reload it – you’ll notice your info text has been saved with your rack, so next time you load this rack you’ll have any notes on usage.
Info texts are also available for other items. Add arrangement notes by adding info-text to location markers.
Add your own info texts for Tracks, Clips, Scenes, Instrument Racks, Drum Racks and Effect Racks, also for Chains (the layers inside your racks)

Utility’s Mid/Side mode
In Live 10 the Utility device was upgraded, and one part of that upgrade is the ability to put it into Mid/Side mode. This facility is quite hidden, with the toggle activated by a menu on the “width” dial. Right click the width knob to access the contextual menu and choose “mid side mode.

Mapping to a range of keys
In zone editors such as the Sampler key zone editor or the Racks key zone editor, press a note or a range of notes on your MIDI keyboard, then double click within the zone: it will be instantly set to the note/range you’ve pressed on the keyboard. This can save a lot of time setting up sampler and rack ranges.

In addition to that you can map an audio clip to a range of keys, select a clip in Session then activate MIDI mapping mode and press C3 and C5 on your MIDI keyboard. Now when you play within that range you will trigger the audio clip and it will transpose.

Set your clips to launch mode “trigger” and launch quantization “16” and now play the range of keys you mapped to trigger whichever clip is active on that track. This technique can produce novel clip-based audio sequencing cut-up sounds, beats and melodies which you can record to arrangement.
Clip and warp marker hidden controls
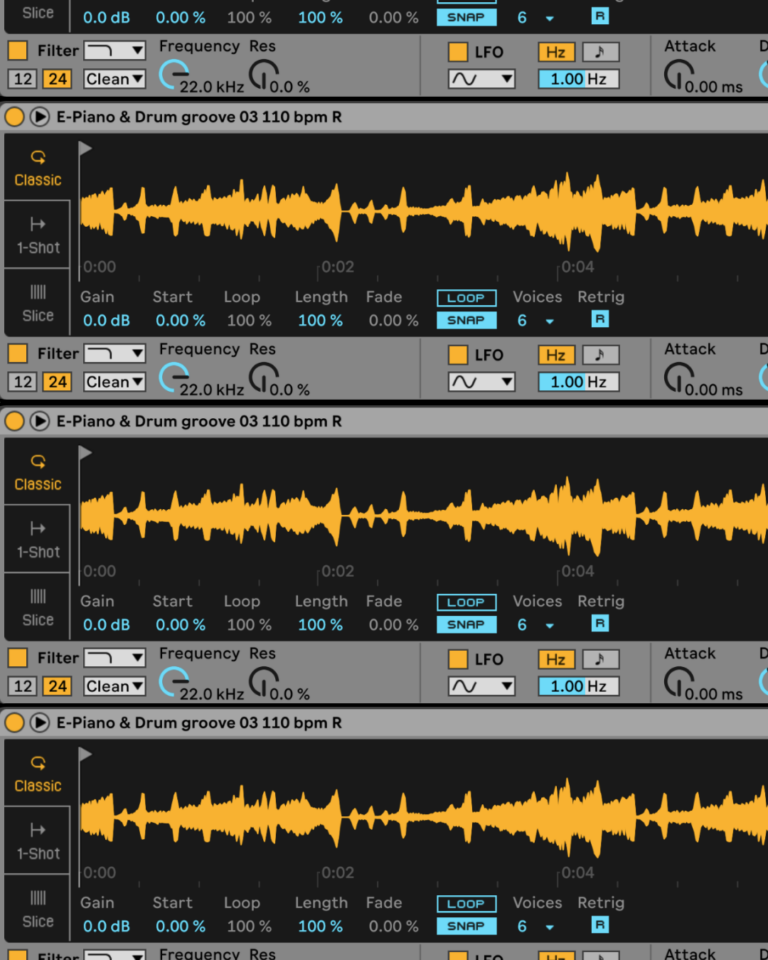
The Ableton automatic marker placement system is usually quite accurate but sometimes warp markers do not align precisely with the hit of the waveform. Pressing your shift key while dragging a warp marker will move the waveform underneath the marker – allowing you to warp the waveform and align the wave peaks and transients accurately with the warp marker.

I hope you enjoyed these tips. there are many more unique features in Ableton Live which can help you create great tracks, and while some are hidden they are well worth seeking out to help you speed up and improve your music production workflow. Steve Angstrom

 50 Industry Music Production Tips You Must Know


