Are you recording your own line of instruments with your MIDI controllers? Would you like to be able to quantize such recordings faster but also in a way that they sound more natural and human?
Then, let us give you some tips that will certainly improve your workflow when being creative with your tracks. Let ‘s start!
What is quantizing?
When I started using DAWs many years ago, and I recorded my MIDI lines using a musical keyboard or drum machine, I would just repeat the same take thousands of times until I had the best one. Ultimately, I would slightly move some individual notes using the mouse until I had the results I was looking for.
I still do this from time to time for special main lines that I want to sound in a very specific way. But it is less and less the case having such powerful tools in our DAWs in order to apply an automatic human touch, so we can save time.
One of these tools is the quantizer, which transforms performed musical notes, which may have some imprecision due to expressive performance, to an underlying musical representation that eliminates the imprecision. The process of quantizing results in notes being set on beats and on exact fractions of beats, providing a more beat-accurate timing of sounds.
However, are we making the most of the quantization? Let’s have a look at it.
Grid options
Sometimes we don’t quite understand the long list of quantization variations that are offered to us, especially if we are not familiar with music theory, and, therefore, here we are going to explain one by one.
First of all, keep in mind that the name of the grid at each moment refers to the number of notes that you can write in each measure. The bars are numbered with whole numbers (1, 2, 3, etc.). For example, the following image shows four bars:

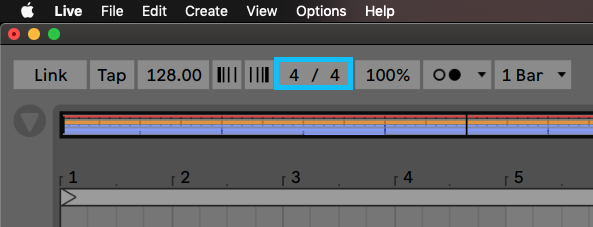
Each measure is divided into 4 parts, because the time signature is 4/4, that is, divided into 4 clicks of the metronome:
We could also have a measure divided into multiples of 3, and therefore have, for example, a 3/4 time signature in general for the entire track, grouping the metronome clicks into 3. Our song would have a rhythm similar to that of the waltz (one, two, three… one, two, three…)
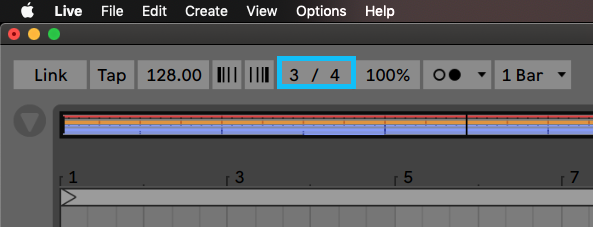
However, in electronic music the 4/4 time signature is often used. To give you an idea, the kicks usually sound 4 times in one measure. In music theory they are called “crotchets”. On your grid, when you right-click to choose the division, it will be called “1/4 or quarter-note quantization”.
See below all the grid configurations along with their equivalent in music theory, in a 4/4 time signature situation:
- 1 bar (in music theory: “semibreve”): This note sounds during the 4 clicks of the metronome.
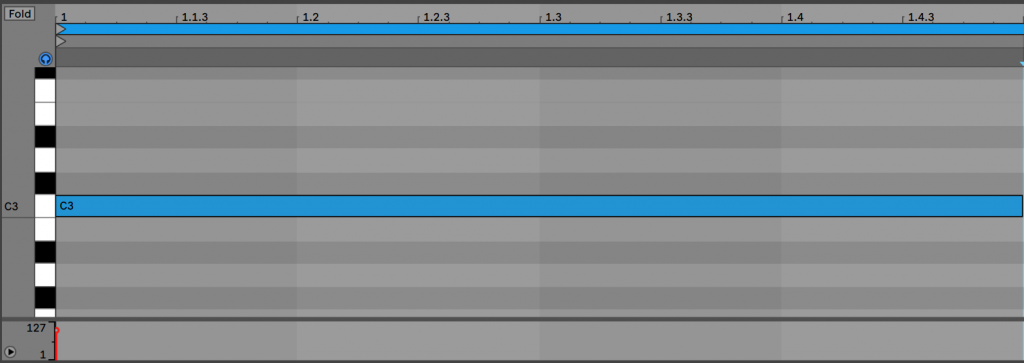

- 1/2 (in music theory: “minim”): This note sounds during 2 clicks of the metronome.
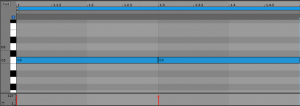

- 1/2 triplet grid (“minim triplet”): In this case, the minim notes last less in order to be 3 in one measure, since they are joined by triplets: this is “similar” to having an instrument sounding in a 3/4 time signature even though the general time signature of the track is 4/4:
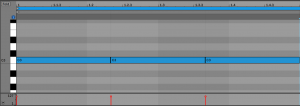

- 1/4 quarter-note (in music theory: “crotchet”): This note sounds during 1 click of the metronome.
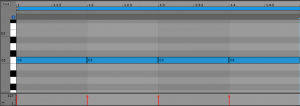

- 1/4 quarter-note triplet grid (“crotchet triplet”):
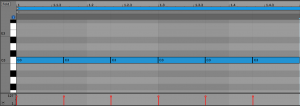

- 1/8 eighth-note (in music theory: “quaver”): This note sounds during a half of a click of the metronome.
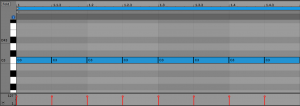

- 1/8 eighth-note triplet grid (“quaver triplet”):
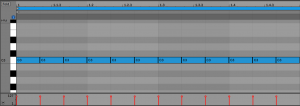

- 1/8 eighth-note and triplets: This case includes the previous two grids, and is useful for making the quantization more flexible.
- 1/16 sixteenth-note (in music theory: “semiquaver”): This note sounds during a quarter of a click of the metronome.
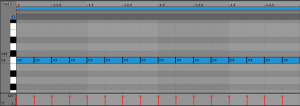

- 1/16 sixteenth-note triplet grid (“semiquaver triplet”):
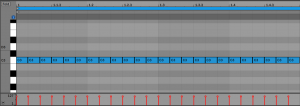

- 1/16 sixteenth-note and triplets: This case includes the previous two grids, and is useful for making the quantization more flexible.
- 1/32 thirty-second note (in music theory: “demisemiquaver”): This note sounds during an eighth of a click of the metronome.
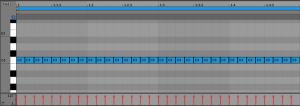

- 1/32 thirty-second note triplets (“demisemiquaver triplet”):
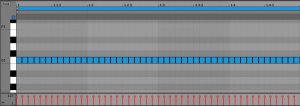

- Current grid: In this case, the quantization would be done according to the configuration you have in the grid at that moment.
Applying quantization in LIVE
If your still confused about quantising then you have to check out the masterclass from 2 time grammy award winning producer Che Pope covering this topic is greater detail when it comes to beat-making,
so lets continue there are three options for quantizing MIDI notes in Live:
1- During recording
First, you can quantize MIDI notes as you record them. The record quantize selector in the Edit menu allows you to previously select the temporal subdivisions with which the notes will be aligned.
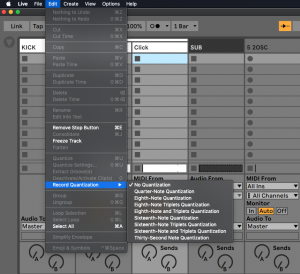
TIP: When recording into the Arrangement, record quantization is an independent step in Live’s Undo history. This means that if, for example, you recorded with Record Quantization set to “Eighth Note Triplet Quantization“ and then changed your mind, using the Edit menu’s Undo command would undo only the quantization and leave your recording otherwise intact.
Recorded MIDI notes can also be quantized post-recording. Let’s look at point 2:
2- After recording: full MIDI clip
Second, you can move all the notes in the MIDI clip at once, so that they are attracted to the visible grid lines. You can do this instantly, with the shortcut Cmd + U (on Mac) / Crtl + U (on windows) to adjust the notes to the grid that you have activated at that moment.
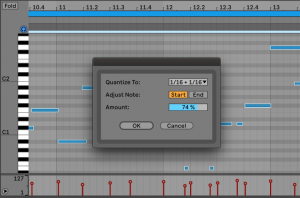
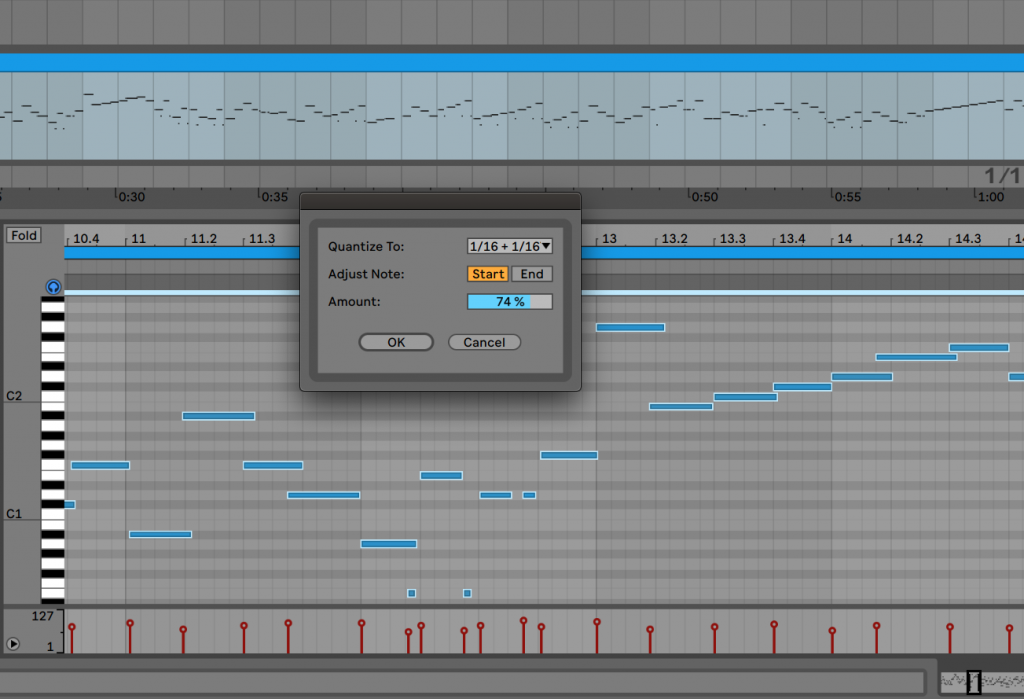
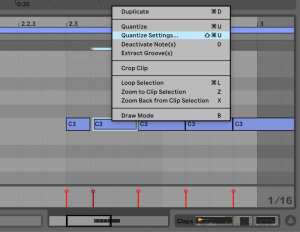
Or you can further fine-tune the settings before quantizing: right-clicking and selecting the option “Quantize settings…” from the pop-up menu, or with the shortcut Shift + Cmd + U (on Mac) / Shift + Crtl + U (on windows), the quantization settings dialog box will appear:
- QUANTIZE TO: It selects the current grid size or a specific size value for quantization.
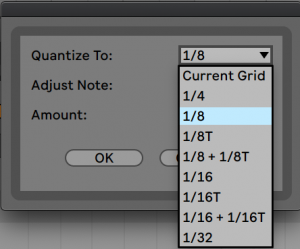
- ADJUST NOTE: It sets either the note start or end (or both) to be quantized. Quantizing the note end will stretch the note so that it ends at the chosen meter subdivision.
- AMOUNT: You can also quantize notes without giving them an overly mechanical feel, as if they were too “quantized”. Using the Amount control, you will shift the notes only by a percentage of the set quantization value.
3- After recording: individual notes
Finally, you can select a note or notes and choose the Quantize command from the Edit menu, or use the Cmd + U (on Mac) / Crtl + U (on windows) hotkey. The first time you do this, you will see a dialog box with several quantization options. This will quantize using default settings, or the settings that you previously applied.
How to get a more human touch
If you’ve been testing the steps above, you may have noticed that quantization sometimes gives a very mechanical touch to your melodic line. If you use large grid splits and large amounts of quantization, that is often the case. They can even change your melody to something that has nothing to do with what you recorded.
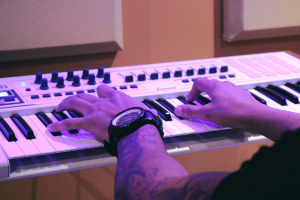
Therefore, the key to giving your quantization a more human touch is to match the division of your grid that is closest to the short duration of the notes of your melody. So it may be that most of your notes are quarter notes (one click), but if you have added any eighth notes (half click), then you may need to use the 1/8 grid instead of the 1/4.
On the other hand, if you’re looking for is to have a bit of groove, it’s a good idea to avoid using 100% quantization. If we adjust the quantization before recording, it may also help us to select one of the standard division triplet options, for example: “sixteenth note quantization + sixteenth note triplets”. That will make the grid more flexible:

As you practice creating your melodic lines, you will gain experience when it comes to recognizing if there is a specific note that is preventing you from hearing it perfect. So, if you learn what notes need a bit of tweaking, you’ll find it helpful to leave the grid Off, so that you can move the notes freely.
And last tip to give a human touch to your melodic lines: use effects. Your melody may be perfectly constructed and still you may not feel 100% happy or think that it doesn’t sound exactly like other melodies you are trying to imitate from other artists. Everything is a matter of perception and also of experience. In that case, apply a little bit of delay, for example, and you may find the groove your ear was looking for.
Let’s practice!
To create good melody lines, quantization is not everything. A big part of success is experimenting and practicing a lot. Another small part is feeling inspired or not, contrary to what many people think. And your tools are your DAW, your keyboard, and these parameters such as the quantization. So do not be discouraged if at first they do not turn out the way you want, be patient and start practicing from now!

 50 Industry Music Production Tips You Must Know


