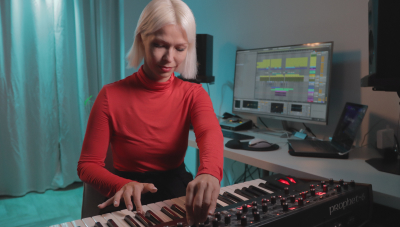
In this article, we will explore the features and capabilities of Ableton Push 3 and previous versions, and how they can help you take to work faster with Ableton Live. If you have an Ableton Push and you’ve been struggling to fully understand the written manual, check out this video guide by an official Ableton Live instructor.
Whether you are a music producer, composer, DJ, or any other type of musician, having the right tools is crucial to create great music quickly and efficiently. One of the most important tools is the MIDI controller, which allows you to control the software instruments in your digital audio workstation (DAW). Ableton Push 3 is one of the most eagerly awaited MIDI controllers of the moment. Originally designed specifically for Ableton Live, one of the most widely used DAWs in the music production industry, it is also compatible via MIDI with any other software.
New Ableton Push
In the world of music production, Ableton Live has always been a go-to software for its user-friendly interface and emphasis on creativity. Ableton’s Push controllers have been the perfect companion for Live users, offering an intuitive way to interact with the software. Now, Ableton takes a giant leap forward with the introduction of Push 3, a hardware device that can execute Live independently from a computer. In this article, we’ll explore the remarkable features of Push 3 and how it enhances the music production experience.
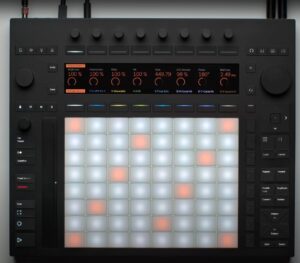
Ableton Push 3 Standalone: A Built-in Computer and audio interface.
Push 3 is a groundbreaking addition to the Push lineup, surpassing its predecessors in terms of innovation and functionality. Unlike previous versions that were primarily controllers, Push 3 can now run Live as a standalone device. It comes preloaded with the Intro version of Live but can also authorize and run any other edition, including Live Suite. This means you can have access to all the native effects, instruments, packs, and even Max for Live devices, without the need for a computer. Push 3 allows you to create, perform, and produce music anytime, anywhere, thanks to its built-in battery. It’s a true embodiment of Live’s unrestricted power in dedicated, versatile hardware.
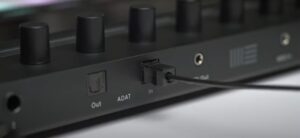
To operate independently, Push 3 requires audio connections. It features two balanced inputs and outputs, along with two ADAT connectors that can expand the device to a total of 8 inputs and 8 outputs when connected to a computer running Live. When using Push 3 in conjunction with a computer (via USB-C to ensure low latency and stability), it not only serves as a powerful Live controller but also eliminates the need for an additional audio interface. The integrated audio interface of Push 3 provides musicians with a comprehensive solution for both control and sound.
Matrix of MPE Pads for Expressive Performance
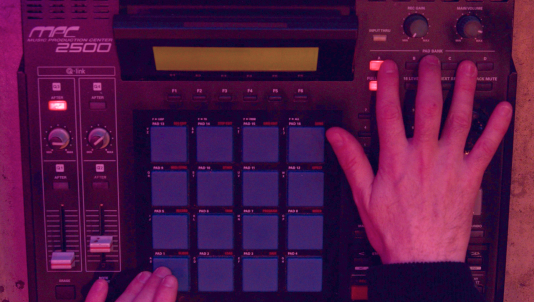
The pad matrix on Push 3 has undergone a significant upgrade, making it a powerful MPE (MIDI Polyphonic Expression) controller. In addition to the traditional functions like clip launching and note playing within specific scales, the pads now offer multidimensional sensitivity and MPE capabilities. Each pad can detect not only velocity and aftertouch but also horizontal and vertical movements, allowing for individual control data for each note played. This advanced feature enables expressive and articulate performances, even when playing polyphonically. Additionally, the pads support drag gestures for note stretching, providing further creative possibilities for musicians.
Setup options and connections
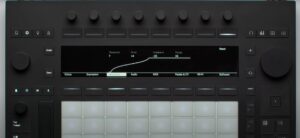
One of the significant advantages of Ableton Push 3 is its dual functionality. It can serve as a standalone instrument, capable of generating sounds and providing a comprehensive music production interface. Alternatively, it can seamlessly integrate with Ableton Live software, acting as a controller like the previous Push 1 or 2 versions. This versatility allows users to explore different creative approaches and workflows, adapting to their preferences and style. Push 3 by Ableton offers an array of connectivity options to enhance the music production workflow. Alongside the balanced analog audio connections and ADAT ports, Push 3 can function as a USB host, allowing direct connection of MIDI keyboards and other controllers. With the use of a hub, multiple devices can be connected simultaneously. The device also features a dedicated headphone output with independent volume control and the ability to set up a separate cue mix. Furthermore, the input connectors for control pedals can be configured alternatively as CV outputs, providing four CV signals from Push 3. It also includes MIDI input and output via standard jack connectors and a USB-C connection for MIDI and audio transfer, supporting sample rates of 44.1 kHz, 48 kHz, 88.2 kHz, or 96 kHz.

Fundamentals of Ableton Live

Previous Launches
Ableton has a history of releasing high-quality MIDI controllers, with Push 1 and Push 2 being popular among Ableton Live users and upcoming music producers, Dj’s or beat makers.
Push 1 was launched in 2013.
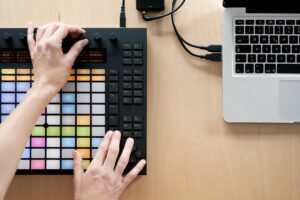
Push 2 was released in 2015.
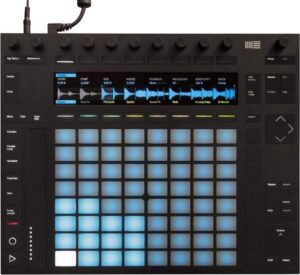
Both these devices received critical acclaim and were widely used in the music production industry. Compared with with the new Ableton Push 3, the new device provides incredible new features to help musicians to keep improving their daily workflow. Still, you need to consider if the new features are needed for your workflow, as Push 2 is still a very good midi controller.
One of the most noticeable differences between the two controllers is the display. Push 1 features a small monochrome display that shows track names, levels, and other information, but it can be difficult to read in certain lighting conditions. Push 2, on the other hand, has a larger full-color display that provides more detailed visual feedback, such as waveforms, MIDI notes, and device parameters. This improved display makes it easier to see what’s happening in your project without having to look at your computer screen.
Another major upgrade in the Push 2 is the touch-sensitive encoders. These encoders can be used to adjust parameters such as filter cutoff, resonance, and more. On Push 1, these controls were not touch-sensitive and required you to turn the knob to make any changes. This new feature on the Push 2 allows for a more expressive and dynamic performance.
The overall build quality of the Push 2 is also superior to that of the Push 1. Push 2 is constructed with higher-quality materials and has a more solid and sturdy feel compared to the lighter and more plastic-like Push 1. This improved build quality makes the Push 2 more durable and better suited for touring and live performances.
Another improvement is the expanded pad grid on the Push 2. Push 1 features a 4×8 grid of pads, while Push 2 has a 8×8 grid. This means that Push 2 has more pads available for triggering clips and playing instruments, allowing for more expressive performances and a wider range of creative possibilities.
The Push 2 also features new functionality, such as the ability to control the new Simpler instrument and the ability to browse and load samples directly from the controller. These new features make it easier and faster to create and manipulate sounds in your project.
In summary, while Ableton Push 1 was a groundbreaking MIDI controller for its time, the Push 2 represents a significant upgrade in terms of display, touch-sensitive encoders, build quality, pad grid, and functionality. These improvements make the Push 2 a more powerful and expressive tool for music production and performance.
Using Ableton Push for Music Production
1. Creating Beats
Push is perfect for creating beats, thanks to its touch-sensitive pads and built-in step sequencer. You can program drum patterns, adjust the velocity of each hit, and add swing to create a groove. Also allows you to record beats in real-time, giving you the freedom to experiment with different rhythms.
2. Playing Melodies
It’s interface is great for playing melodies, thanks to its touch-sensitive pads and scale modes. You can choose from a variety of scales and modes, and the pads will light up accordingly. This makes it easy to play melodies and chords, even if you have no musical training.
3. Mixing and Mastering
Very useful for mixing and mastering, thanks to its touch-sensitive encoders and high-resolution display. You can adjust the volume, pan, and effects of each track, and see the changes in real-time on the display. Push also allows you to automate your mix, giving you complete control
More information at: Ableton
Fundamentals of Music Production



 50 Industry Music Production Tips You Must Know