Feeling like creating looser, more relaxed beats today? Well we feel the same, so we’ll be sharing some of our favourite tips and free plugins to achieve an easy, lo-fi sound for your next track.
It’s the perfect time to leave perfection behind and just chill, letting inspiration and little accidents bring magic to your music. Are you ready?
1 – PITCH SHIFT IT DOWN
One of the main characteristics of a lo-fi sound is its warmth and unpolished finish. One of the ways to achieve this is by pitching your samples down.
Here’s how to do it:
When choosing your sounds, you could go for a sample that is a few semitones higher in pitch than the tonality of your song, so you are forced to repitch it to make it fit.
The fact that you are stretching the sample will probably damage the quality of the sound. But don’t worry, we want those imperfections to give your sound a more retro analog vibe.
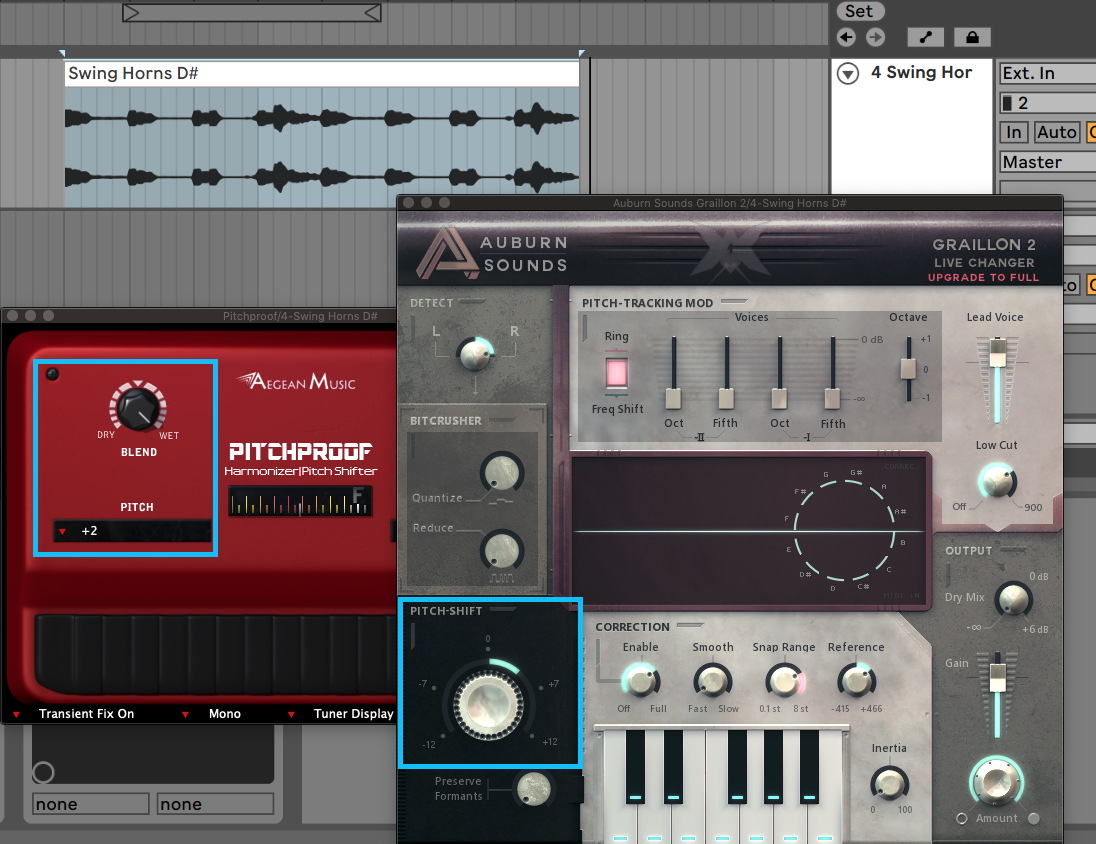
Most DAWs have an easy way to do this with a transposer, as we can see in Ableton’s Live example below:
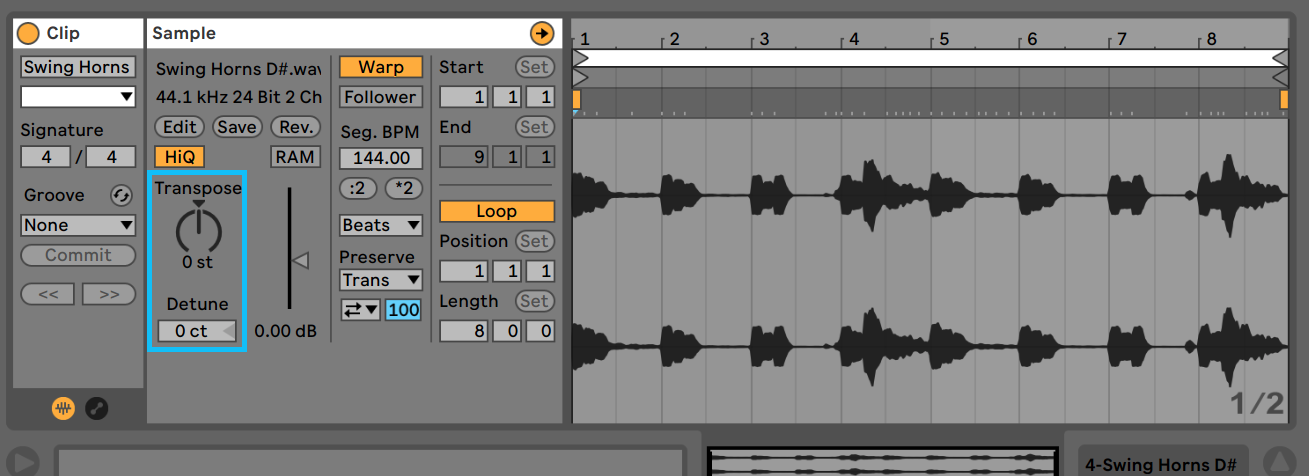
However, if you are using a third-party plugin, you can use one that is not only a transposer, but one that also gives you extra features that may add a special colour to your sound. It is the case with Pitchproof by Aegean Music, an old-style shifter emulator intended to be used on electric guitars, which has the simple parameter of a transposer, but also gives you the chance to harmonize your sound.
Or you can use an autotune such as Graillon by Auburn Sounds, which has a free version that includes the basic transposer, but also a ‘correction’ tool that can give you unexpected but desirable slightly distorted vibes when used on certain sounds.
2 – FILTER AND SATURATE
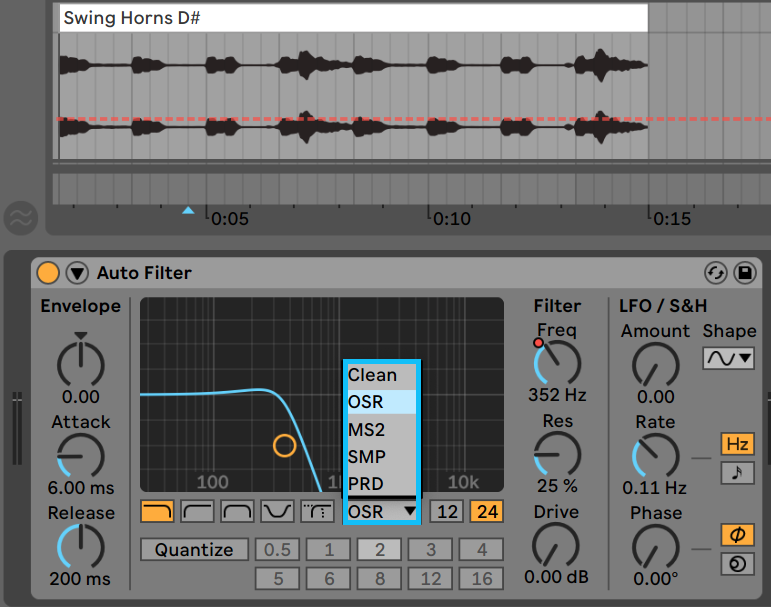
The other easy way to give your layers the warmth and retro tape sound quality of the lo-fi style is by filtering the higher frequencies and adding distortion.
By filtering the higher frequencies of some of your instruments you can emulate the lack of that frequency range that old-recordings had.
And by adding a bit of saturation, you create the ‘damaged’ or bit-reduced effect we were talking about in point one.
Here’s how to do it:
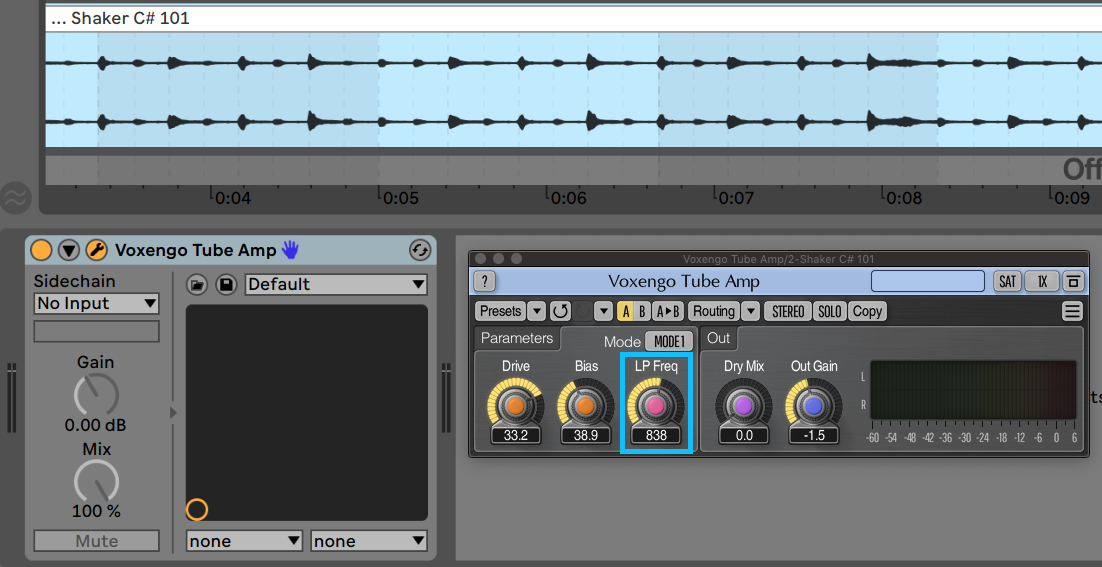
There are plenty of free plugins you can use to do this really quickly. For example, Tube Amp by Voxengo gives you a wonderful filter that sounds really tape-like, but if that touch is not enough, you have the drive knob next to it to adjust it to your needs.
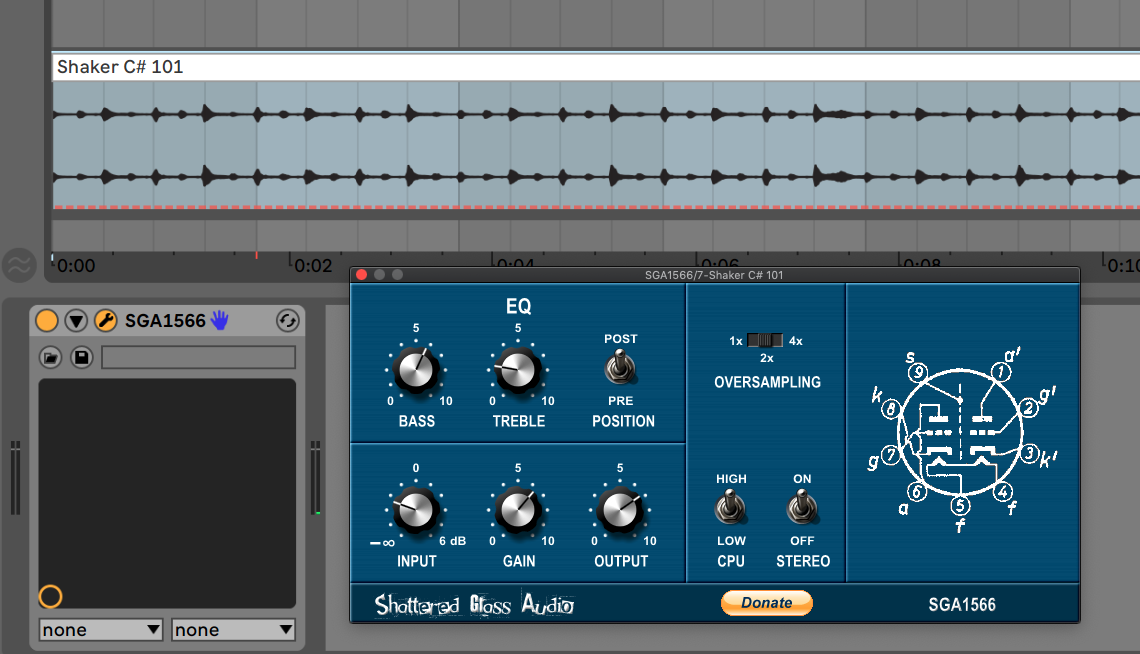
However, you can simply use the basic filters you find in any DAW, and just get a distortion or overdrive plugin, as is the case with the well-known and much used One Knob by Softtube, or a saturation compressor such as the SGA1566 by Shattered Glass Audio.
If you use Ableton Live, don’t miss the analog filters that come in many native plugins and that we explain in this instagram post.
3 – LEAVE IT OFF THE GRID
Our next tip is to loosen the perfection of the tempo, in order to replicate the feel of the beat-maker playing sample chops by hand.
Here’s how to do it:
Feel free to turn off the quantization option and record your beats yourself, even if it’s on the keys of your computer keyboard if your DAW allows you.
Then when editing with the grid off, you can leave some hits on the beat and leave others off. Just spend your time finding the swing that suits you.
You don’t have to do this to all layers. Keep in mind that sometimes the trick is to find the subtle contrast that gives combining layers with a tight start and others without it.
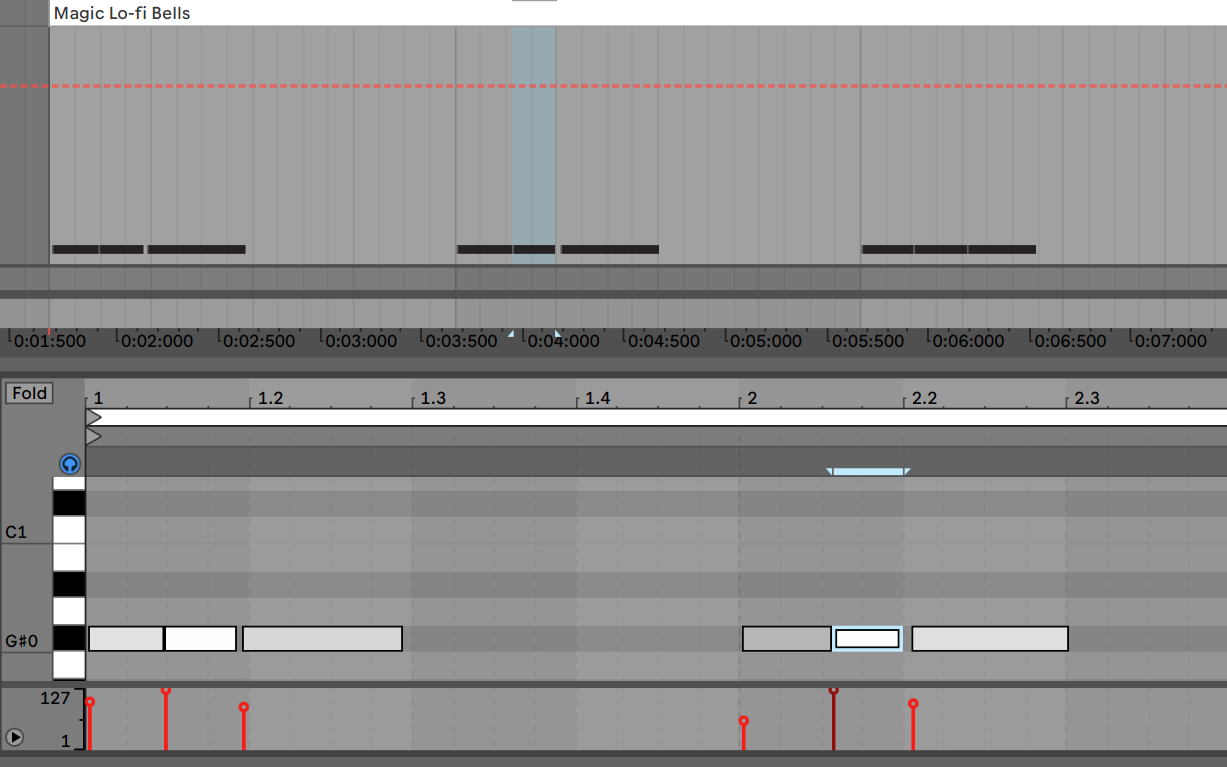
In case you don’t want to do it yourself you can use Midi or groove templates, such as the Ableton Live’s Grooves or any similar tools in your DAW.
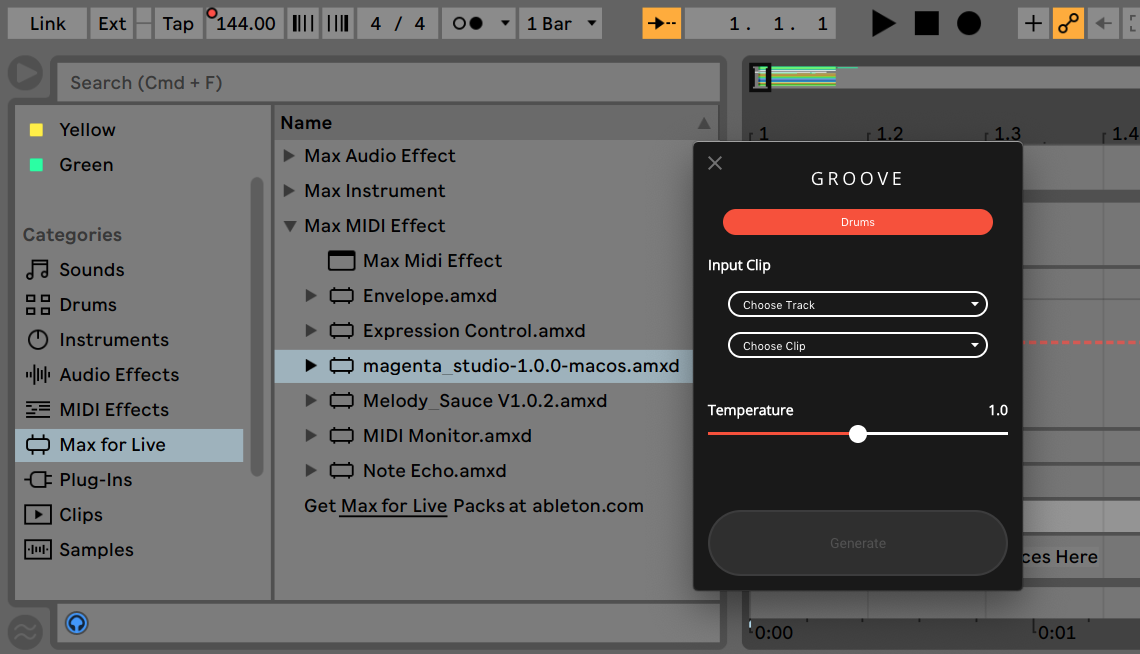
You can also give a try to AI plugins that auto-generate rhythms and patterns, for example Groove Magenta Studio Plugin, which has a standalone version, or a Max for Live integration option. In case you need help installing Max for Live plugins in Ableton Live you can follow our guide on Instagram.
4 – CHOP YOUR SAMPLES UP
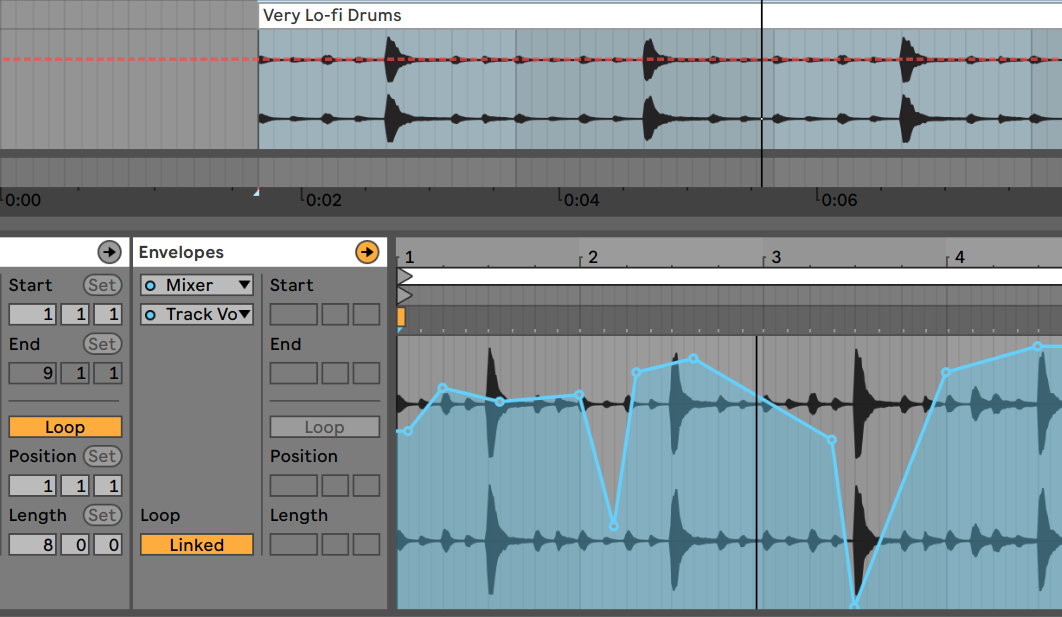
You can give extra groove to your samples by chopping or varying the volume of some of their parts.
Here’s how to do it:
You can do it manually on the sample audio file, which can take you longer but give you more original results, or you can use a plugin to do so.
Again, it’s all about the feel that you’re searching for, although keep in mind that going too far can sometimes make your samples sound too robotic.
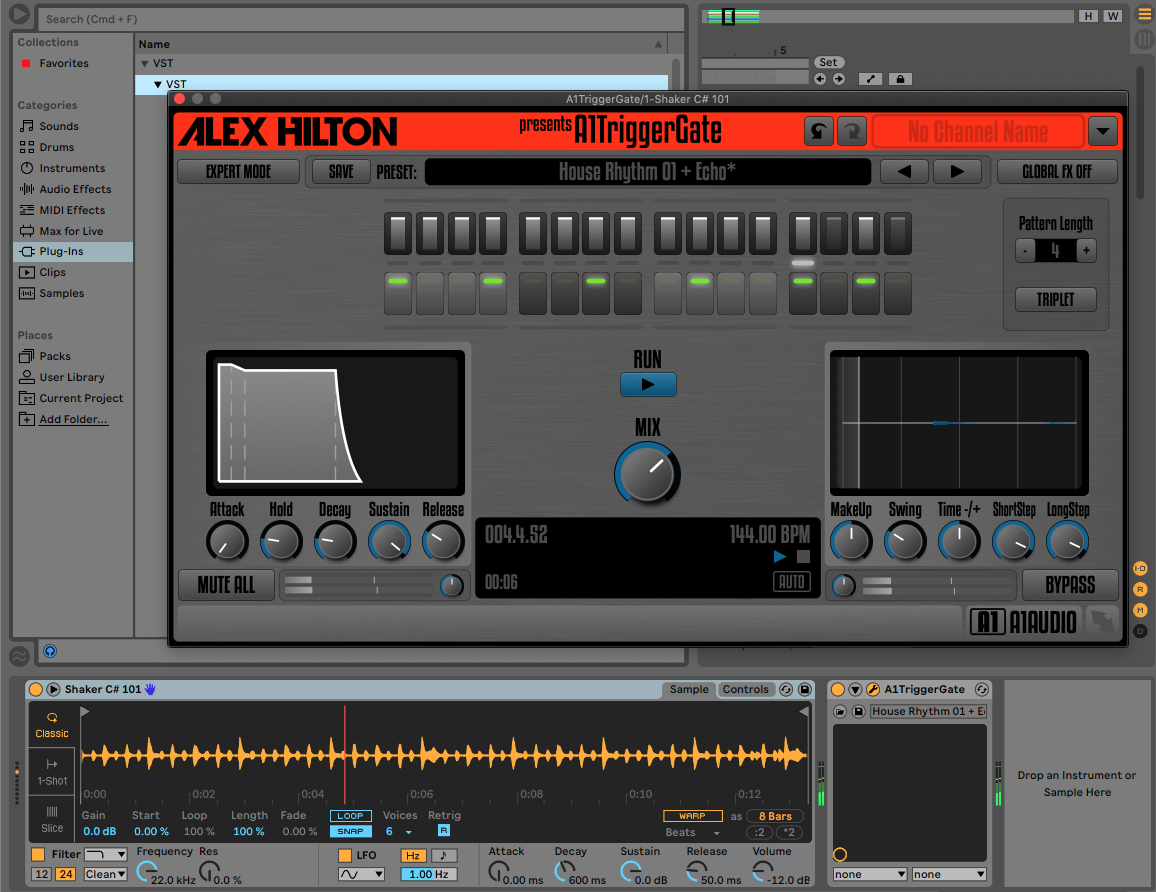
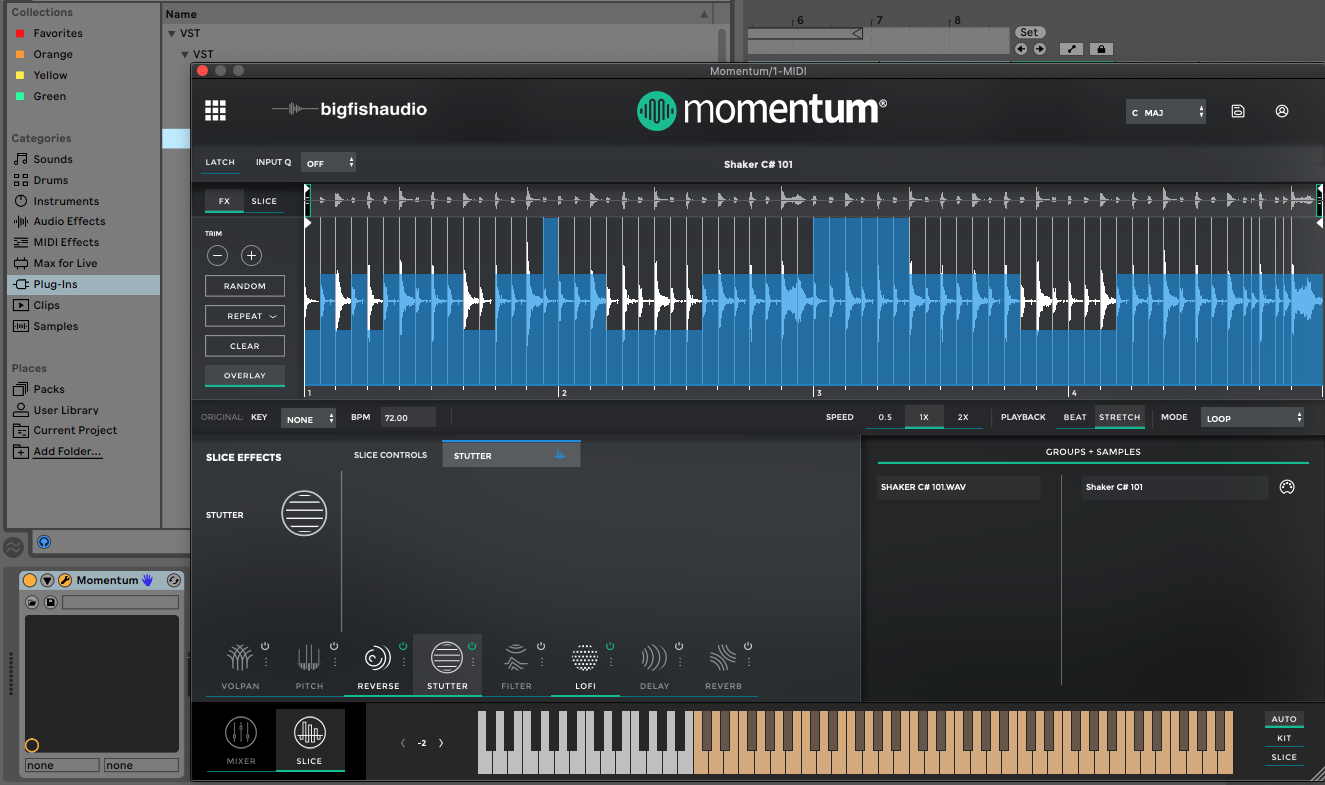
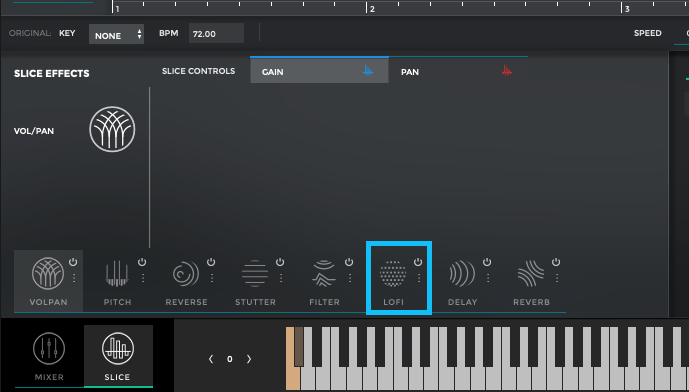
There are many plugins to chop audio out there, from the wide-used Alex Hilton’s A1TriggerGate which lets you control every chopped bit of your sample in a very intuitive way with its very visual interface; to other more recent and powerful tools such as Momentum by Bigfishaudio. In fact, Momentum has many parameters that you can use to add lo-fi sounds to a sample, taking us to our 5th and easiest tip.
We’ll be talking more about Momentum in future posts since it’s a very interesting plugin.
5 – USE PLUGINS SPECIFICALLY DESIGNED TO GET A LO-FI SOUND
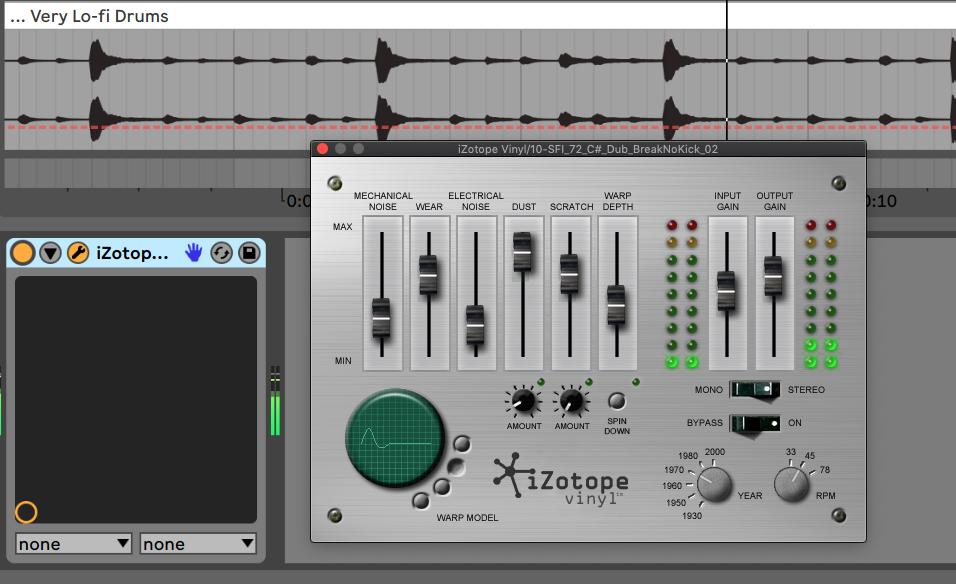
So, apart from Momentum by Bigfishsound, you could try other free plugins such as Vinyl by izotope, which is free and automatically gives your samples a vintage vinyl touch that is characteristic of the lo-fi sound.
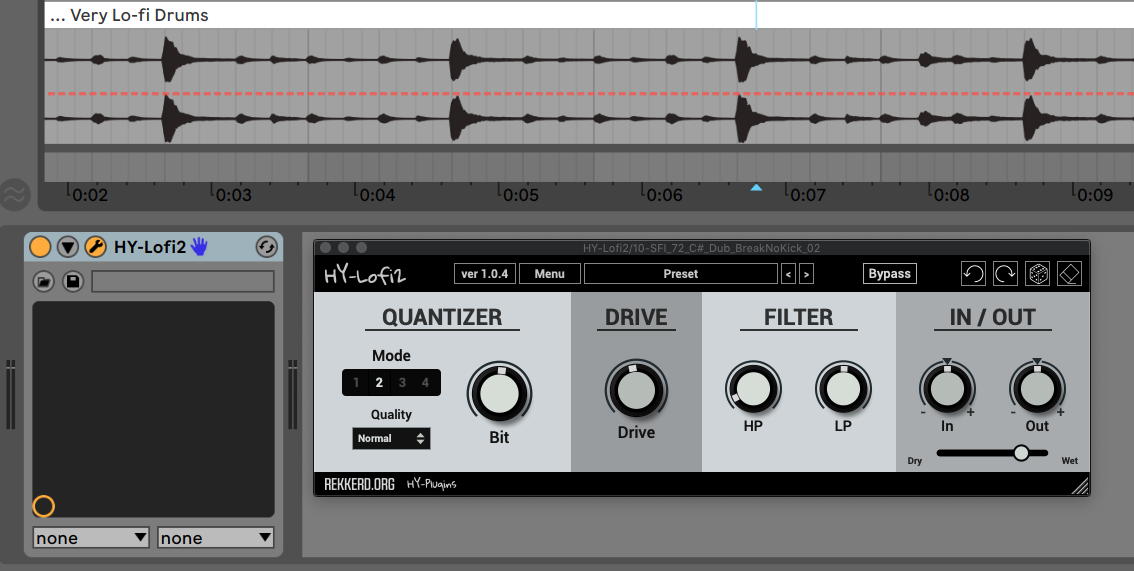
Or you could try Hy-Lofi2 by Hy-plugins which has a bit quantizer, distortion and filter sections that after a few tweaks will quickly give you the sound you’re looking for.
So, what now?
Now you have some tips and free tools that you can download straight away, what are you waiting for? Make yourself comfy in your studio and start creating some musical magic!
Do you use any other plugins to create a lo-fi sound? Let us know and share them in the comments!



 50 Industry Music Production Tips You Must Know


